
This guide documents a complete, real-world journey of writing, building, and loading a Linux kernel module on Windows Subsystem for Linux 2 (WSL2).
Unlike most tutorials that assume a native Linux machine with pre-installed kernel headers, this document covers the actual problems that appear on WSL2 and the correct, non-hacky solutions for them — without using a separate virtual machine (no VirtualBox).
By the end of this guide you will be able to:
- Set up a proper kernel development environment on WSL2
- Build a custom WSL2 kernel
- Write, compile, and load an out-of-tree kernel module the correct way
- Understand why each step is necessary, and recognize the errors that come from skipping one
WSL2 lets you run a real Linux kernel on Windows, which is convenient for learning kernel development without a dual-boot or a separate machine.
However, WSL2 has an important limitation: the stock Microsoft WSL2 kernel is a pre-built binary. It does not ship with the full kernel headers and build system that out-of-tree modules require.
This is why the classic error appears the moment you try to build a module against the stock kernel:
make: *** /lib/modules/$(uname -r)/build: No such file or directoryAnd even after you prepare a kernel source tree and manage to compile a module, loading it into the stock kernel fails with:
insmod: ERROR: could not insert module ./hello.ko: Invalid module formatThis happens because the module was built against a kernel configuration/version that doesn't match the one currently running (vermagic mismatch).
Therefore, for proper kernel module development on WSL2, you must:
- Download the official Microsoft WSL2 kernel source
- Prepare that source tree correctly (so it produces a real
Module.symvers) - Build your own kernel image (
bzImage) from that same tree - Configure WSL to boot your custom kernel
- Only then build and load modules — now they match the running kernel exactly
This is the only reliable, "real" way to do kernel module development on WSL2, and it's the same mental model used on a normal Linux distribution (which ships matching headers and a complete Module.symvers out of the box).
- Windows 10 (version 2004+) or Windows 11
- Virtualization enabled in BIOS
- At least 8 GB RAM (16 GB recommended)
- 20–30 GB free disk space
Open PowerShell as Administrator and run:
wsl --installThis enables the required Windows features and installs the default Ubuntu distribution. Restart your computer after it finishes.
Open "Ubuntu" from the Start menu. You'll be asked to create a UNIX username and password — remember this password, you'll need it for sudo.
sudo apt update
sudo apt upgrade -ysudo apt install -y build-essential flex bison libssl-dev libelf-dev bc dwarves git
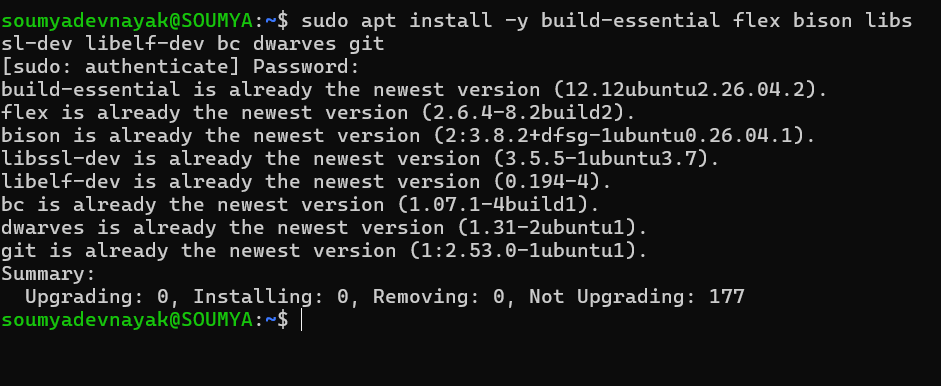
Figure 1: Install essential build tools
These packages are required to compile the Linux kernel and kernel modules.
Microsoft maintains the WSL2 kernel source on GitHub: https://github.com/microsoft/WSL2-Linux-Kernel
Clone the branch matching your running kernel's series (this guide used the 6.18 series):
cd ~
git clone --depth=1 -b linux-msft-wsl-6.18.y https://github.com/microsoft/WSL2-Linux-Kernel.git
cd WSL2-Linux-Kernel
--depth=1downloads only the latest commit, saving time and disk space.

Figure 2: Clone the kernel source
ls Microsoft/config-wsl
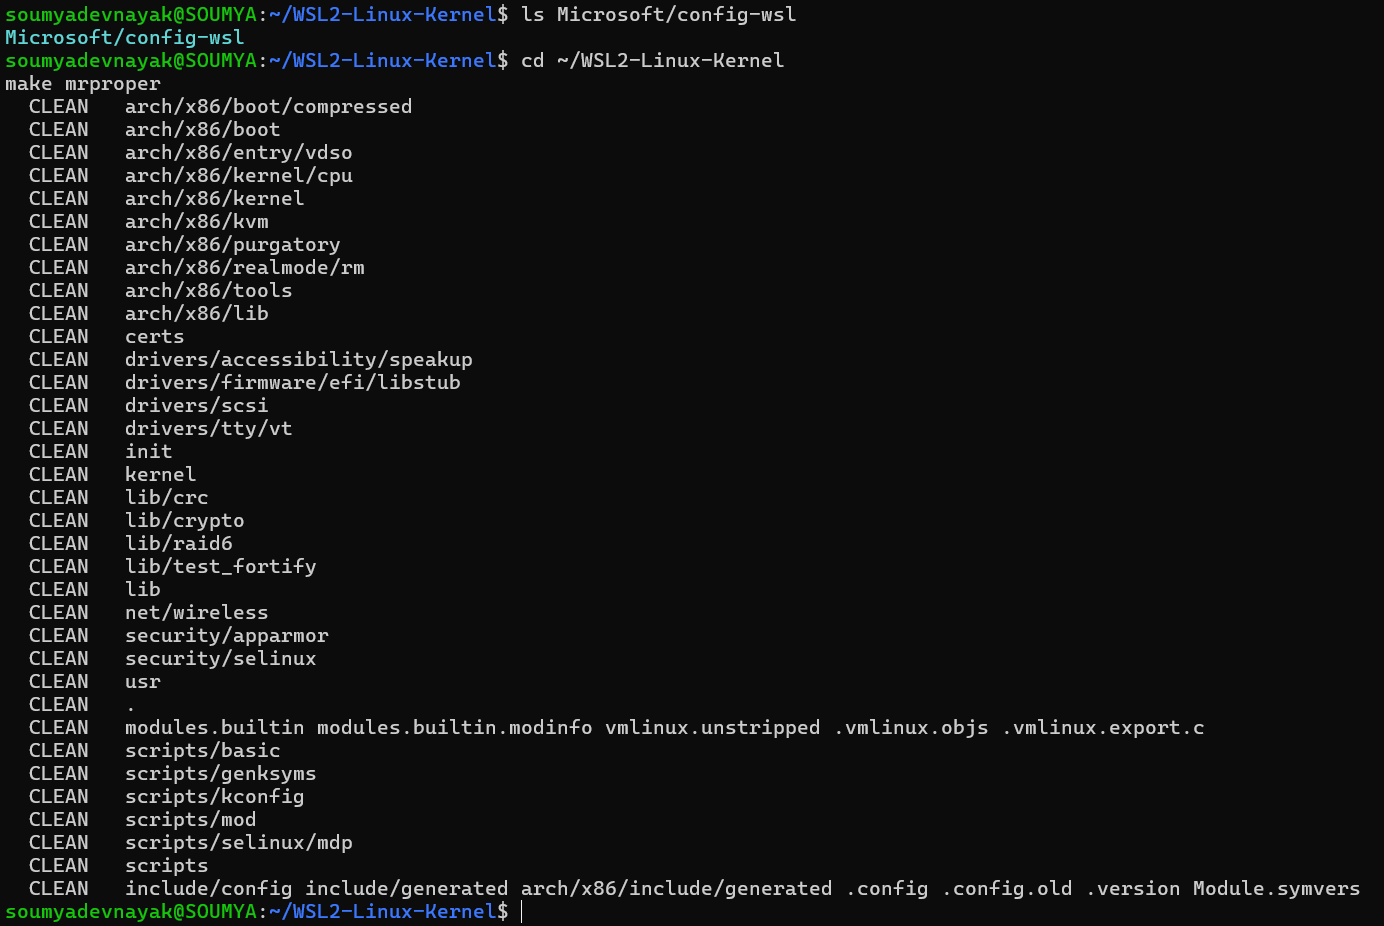
Figure 3: Verify the source and clean previous build artifacts
You should see the official WSL kernel configuration file — the exact configuration Microsoft uses for the stock WSL2 kernel.
A properly prepared kernel tree is required so that out-of-tree modules build with a real, complete symbol table. Getting this step wrong is the single biggest source of errors in this whole process — follow it exactly in this order.
cd ~/WSL2-Linux-Kernel
make mrproper
⚠️ make mrproperdeletes.configif one exists. Always run it before copying in the WSL config, not after.
cp Microsoft/config-wsl .configmake olddefconfig
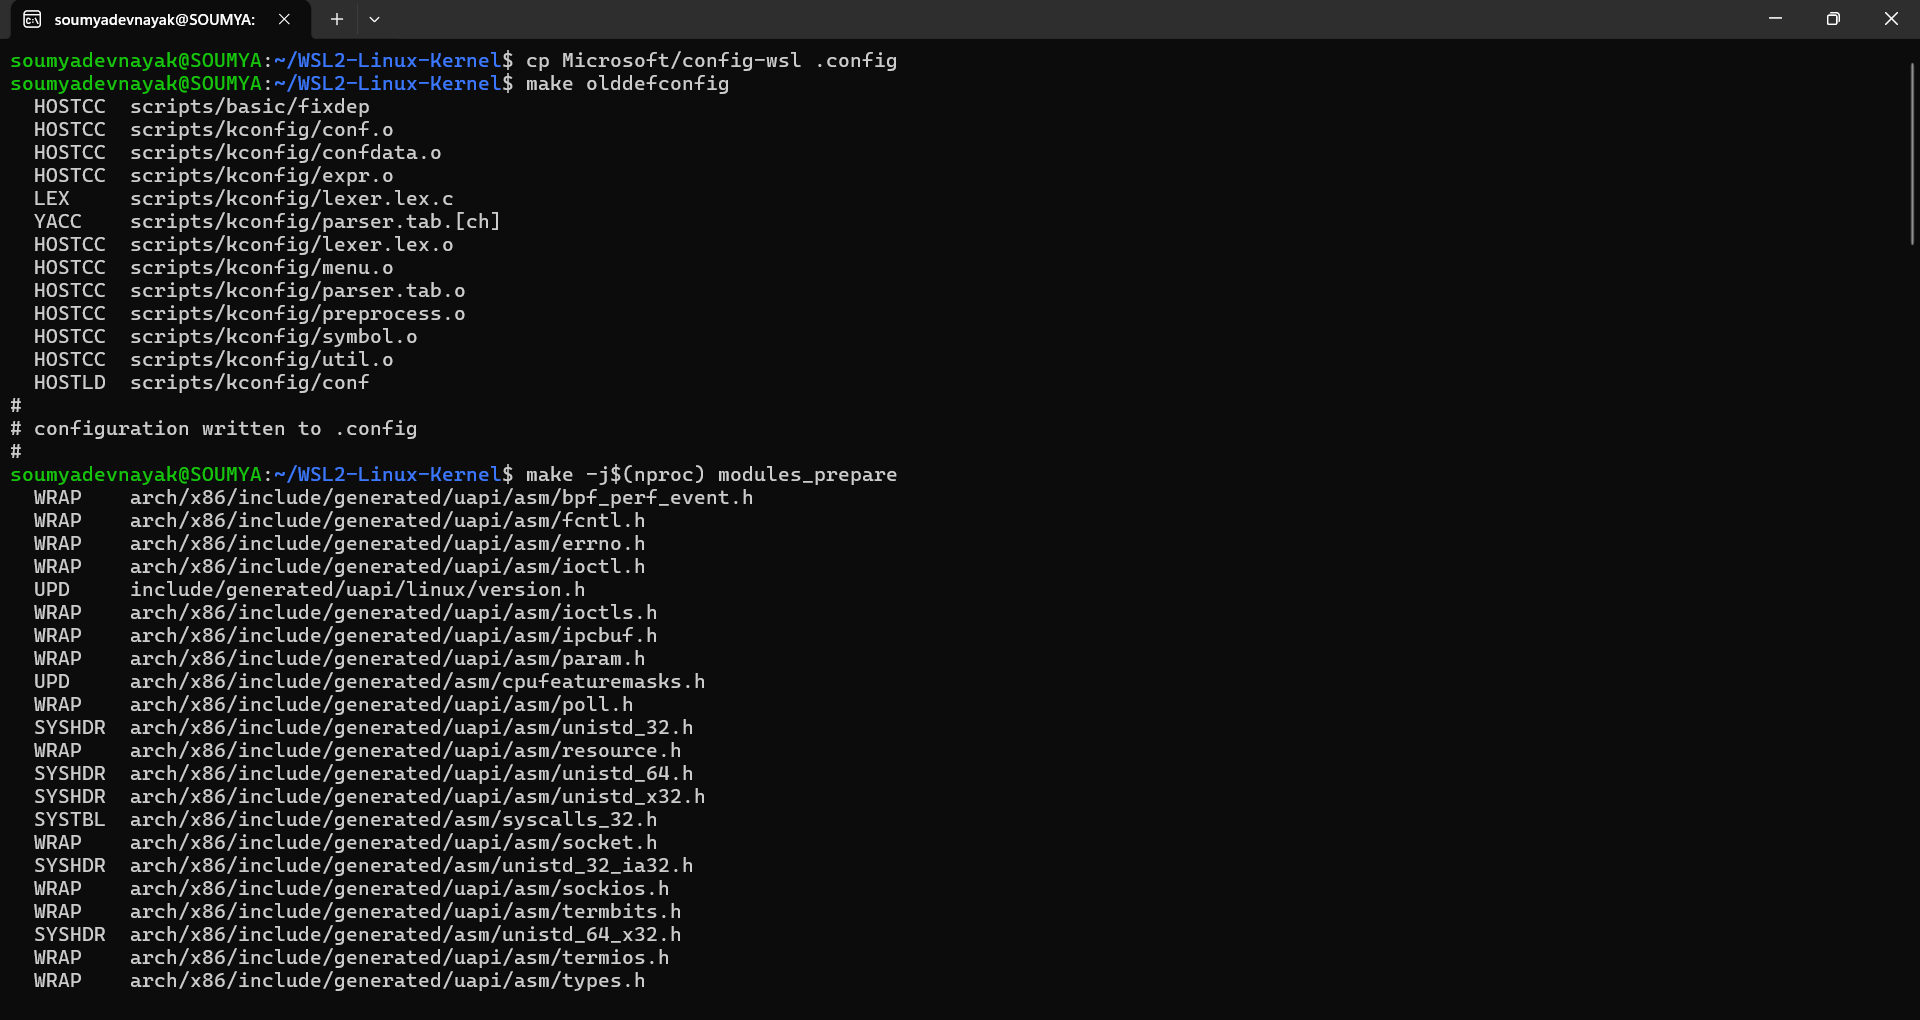
Figure 4: Use the official WSL configuration and make it consistent with the current source
make -j$(nproc) modules_prepare
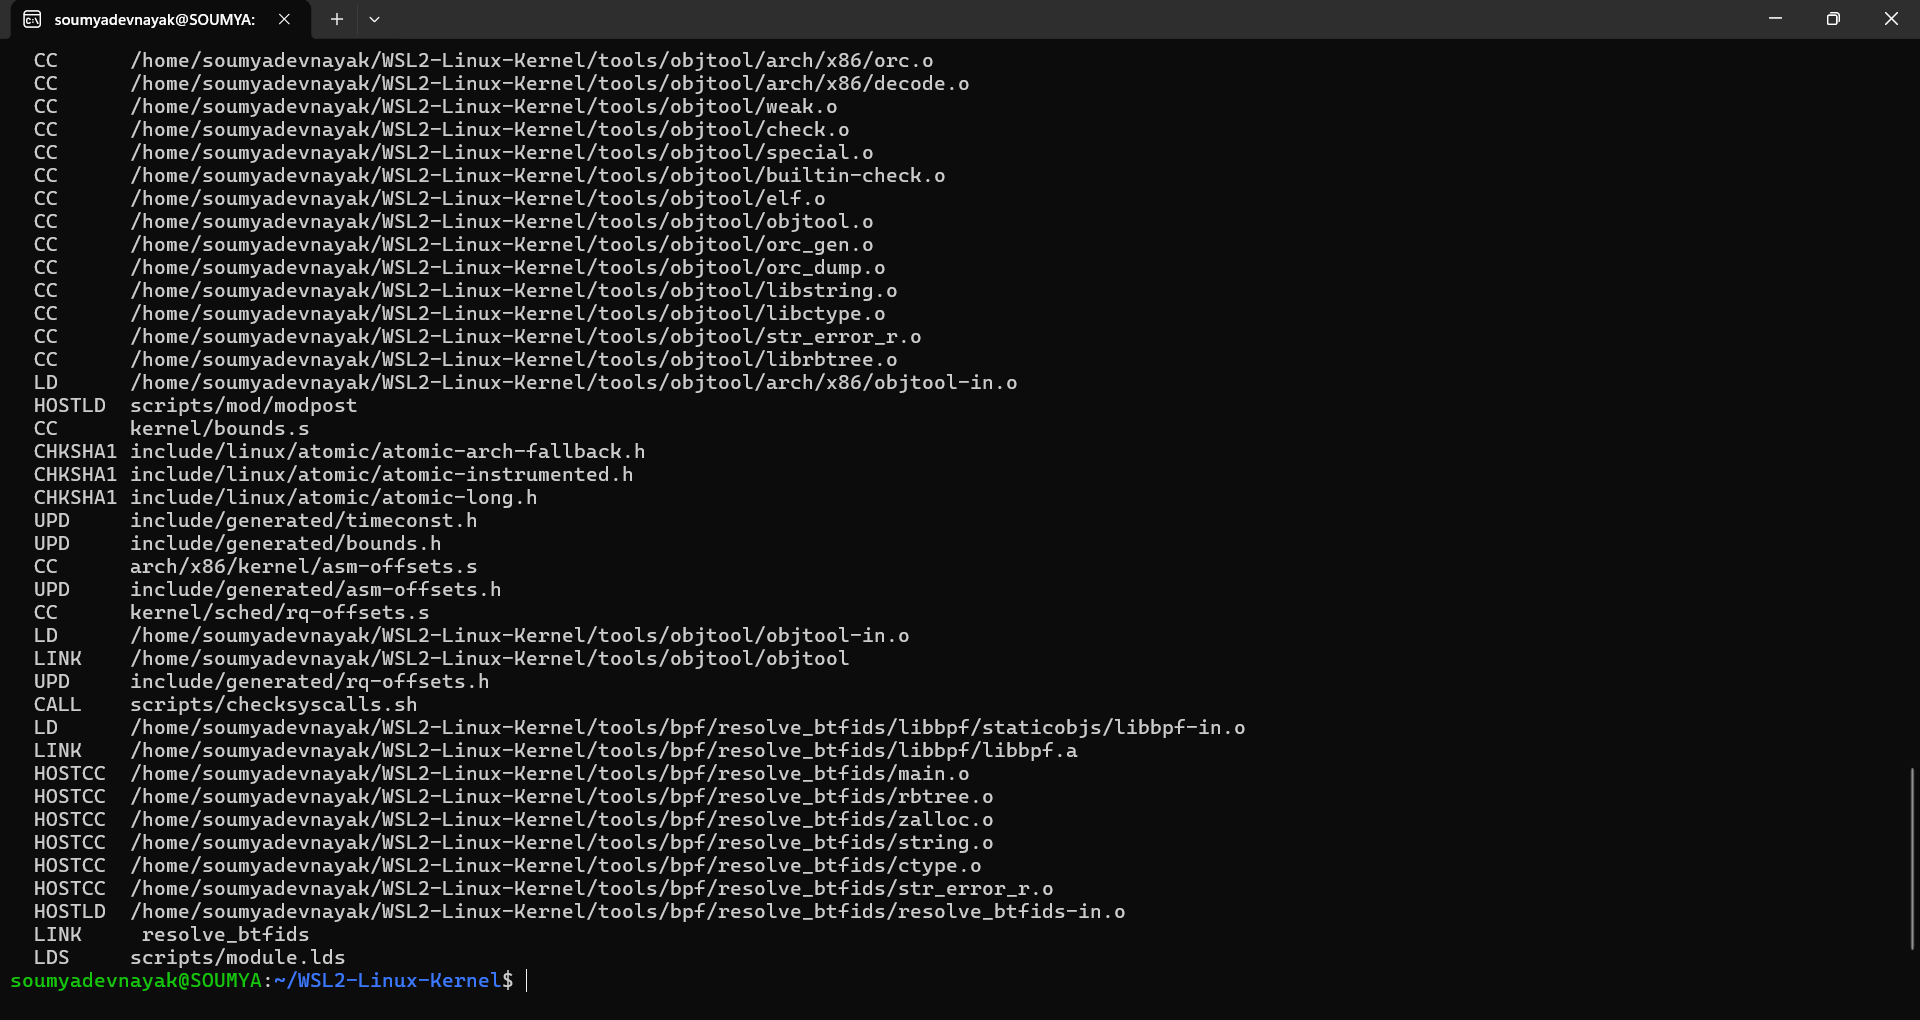
Figure 5: Prepare the kernel for external module building
This sets up headers, scripts, and version infrastructure — but on its own it is not enough to produce a usable Module.symvers (see Section 10 for what goes wrong if you stop here).
make -j$(nproc) modules
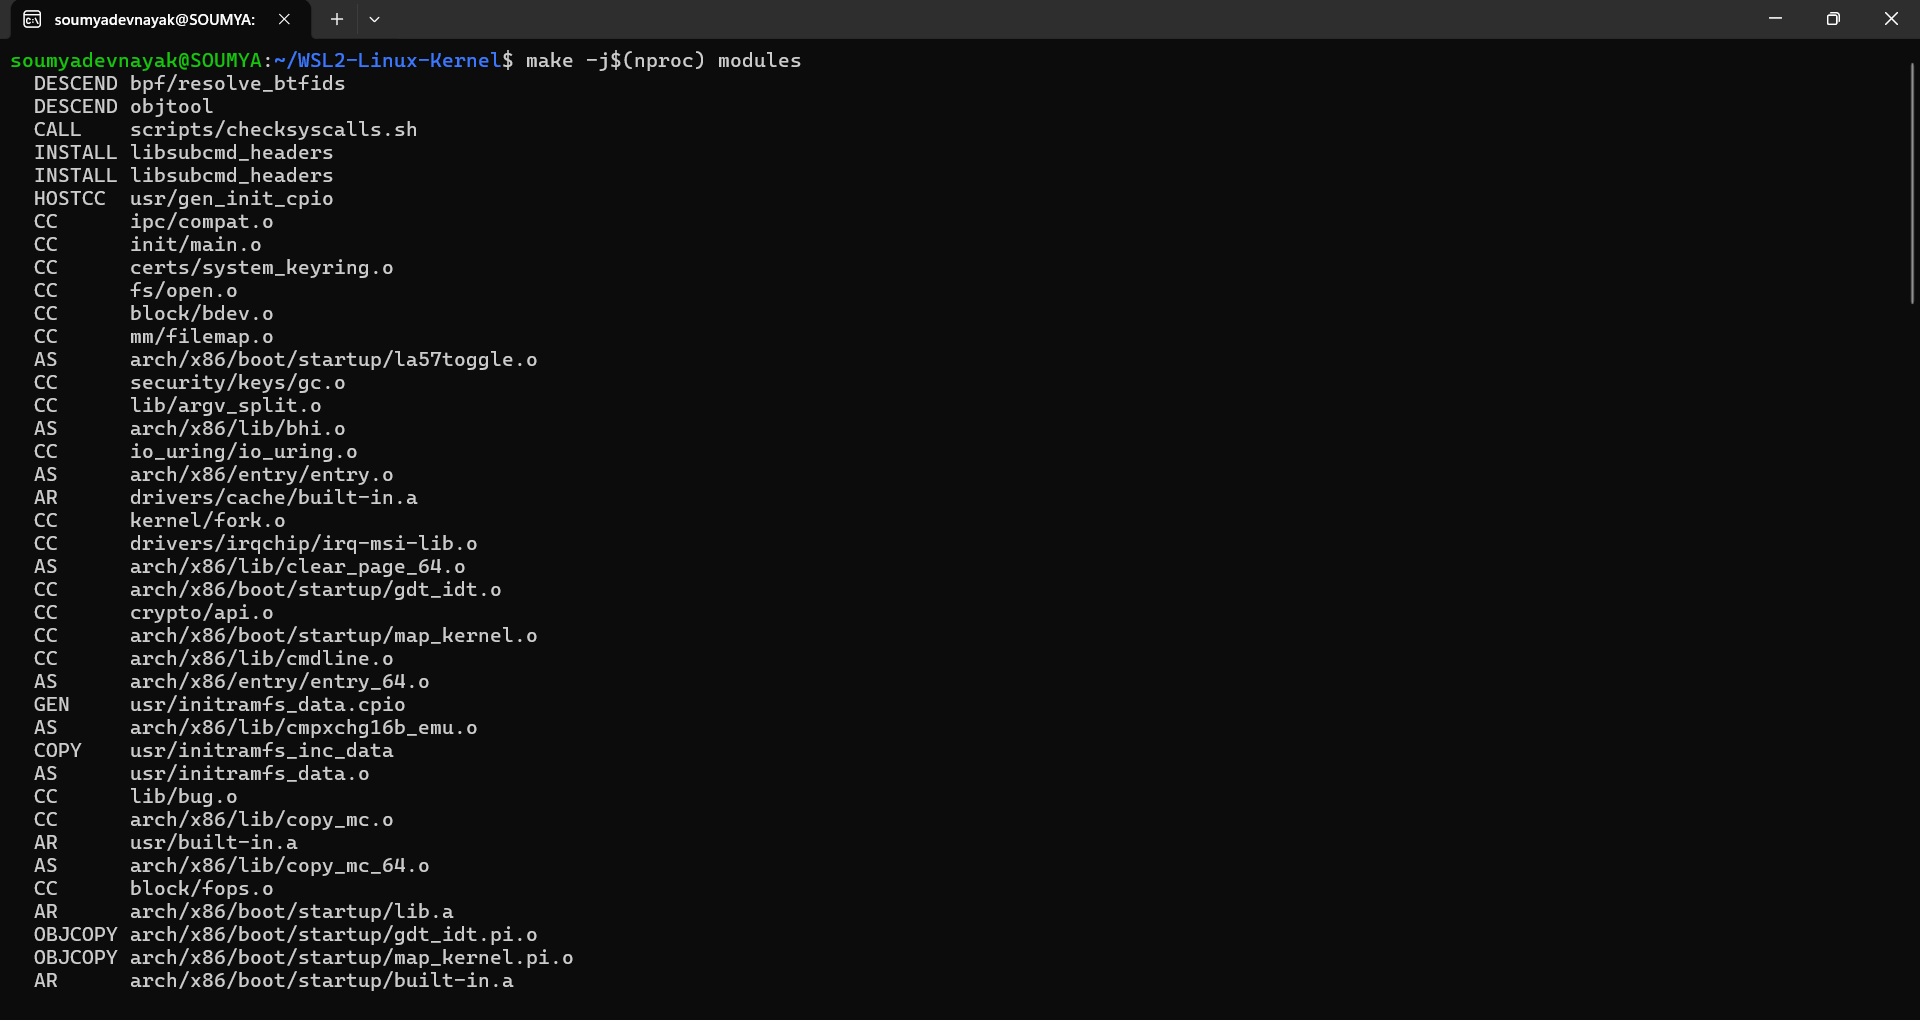
Figure 6: Build the in-tree modules to generate a complete Module.symvers
This compiles all in-tree modules and — critically — writes the real Module.symvers, containing every exported kernel symbol (_printk, module_layout, __fentry__, __x86_return_thunk, etc.). This is the file your out-of-tree module links against.
This step is the slow one: expect 20–60 minutes depending on your CPU. Let it run to completion — don't interrupt it early. (On one real run, a complete symbol table had appeared after a partial build, but letting the step finish fully is the reliable path and avoids the failures described in Section 10.)
ls -lh Module.symvers
wc -l Module.symvers
You should see a non-trivial file (on a real run this was about 1.1 MB) with many thousands of lines. If it's empty or missing, do not substitute a workaround — go back and confirm Sections 5.1–5.3 completed without errors.
Note:
Module.symversand the kernel image you eventually boot must come from the same prepared source tree and config. If you change.configlater, rerunmake olddefconfig,modules_prepare, andmodulesagain so everything stays consistent.
With the tree prepared, build the actual kernel image:
cd ~/WSL2-Linux-Kernel
make -j$(nproc)
.png)
Figure 7: Building the Custom Kernel Image (bzImage)
This also takes a while (comparable to the modules build). When it finishes you'll see a line like:
Kernel: arch/x86/boot/bzImage is ready
Confirm the file exists:
ls -l arch/x86/boot/bzImage
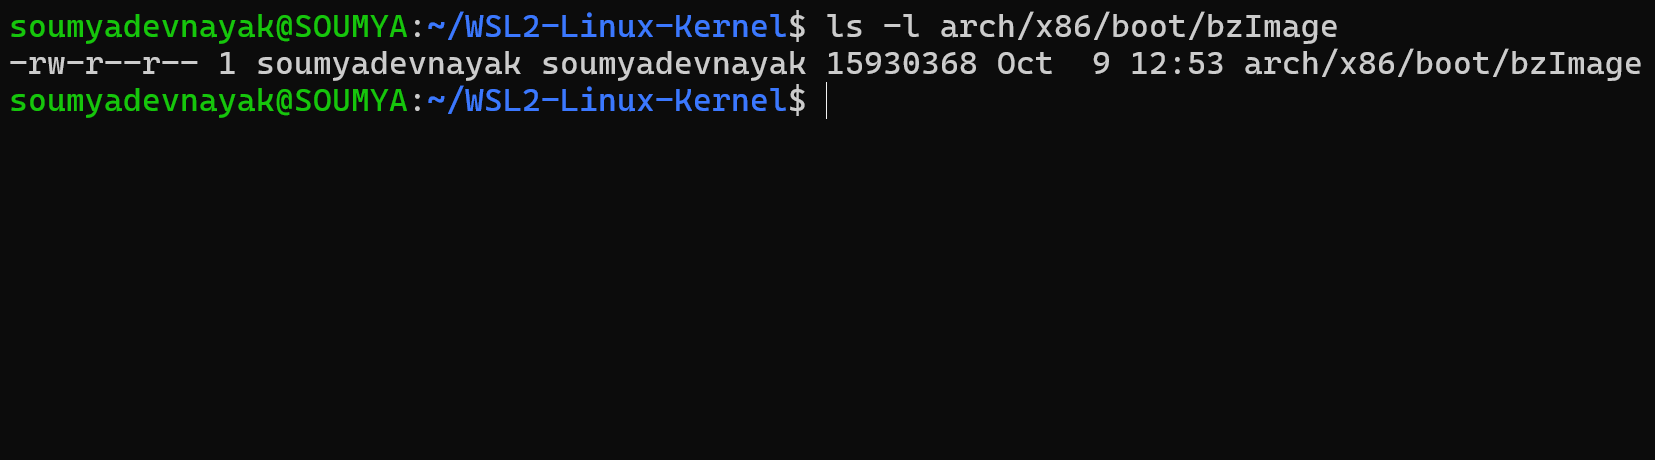
Figure 8: Confirm the file exists
ls /mnt/c/Users/You'll see folders like Public, Default, and your actual username. Use the real name you see here — don't copy a placeholder literally.
cp arch/x86/boot/bzImage /mnt/c/Users/YOUR_REAL_USERNAME/Confirm:
ls -l /mnt/c/Users/YOUR_REAL_USERNAME/bzImageFrom inside WSL:
touch /mnt/c/Users/YOUR_REAL_USERNAME/.wslconfig
nano /mnt/c/Users/YOUR_REAL_USERNAME/.wslconfig
Paste exactly this (adjusting the username), then save (Ctrl+O, Enter) and exit (Ctrl+X):
[wsl2]
kernel=C:\\Users\\YOUR_REAL_USERNAME\\bzImageClose all WSL terminals, then from PowerShell (normal user is fine):
wsl --shutdownWait 5–10 seconds, then reopen your Ubuntu terminal.
uname -r
cat /proc/version
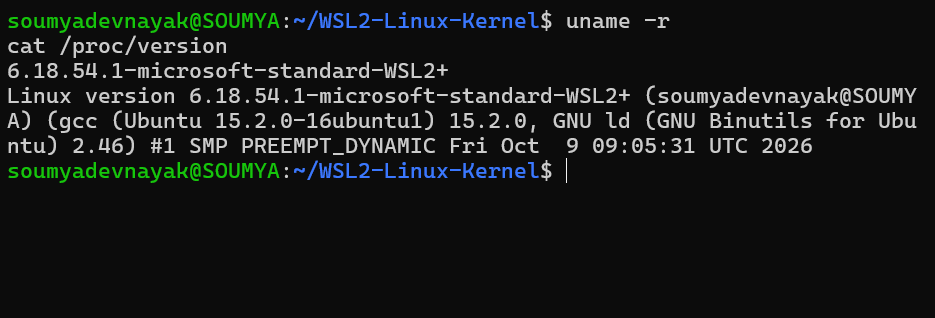
Figure 9: Verify you're running your own kernel
You should see your kernel version string, usually with a trailing + (e.g. 6.18.54.1-microsoft-standard-WSL2+) — the + is expected and confirms it was built from source rather than being the stock Microsoft binary. The version number will typically differ from the stock kernel's version too.
Create a working directory and the module source:
mkdir -p ~/KERNEL_DEV/Module_files
cd ~/KERNEL_DEV/Module_files
nano hello.chello.c:
#include <linux/init.h>
#include <linux/module.h>
#include <linux/kernel.h>

MODULE_LICENSE("GPL");
MODULE_AUTHOR("You");
MODULE_DESCRIPTION("A simple Hello World kernel module");

static int __init hello_init(void)
{
    printk(KERN_INFO "hello: module loaded - Hello from the kernel!\n");
    return 0;
}

static void __exit hello_exit(void)
{
    printk(KERN_INFO "hello: module unloaded - Goodbye from the kernel!\n");
}

module_init(hello_init);
module_exit(hello_exit);
Makefile (same directory):
obj-m += hello.o

all:
	make -C ~/WSL2-Linux-Kernel M=$(PWD) modules

clean:
make -C ~/WSL2-Linux-Kernel M=$(PWD) cleanBuild against the kernel tree you prepared and are now running:
cd ~/KERNEL_DEV/Module_files
make clean
make
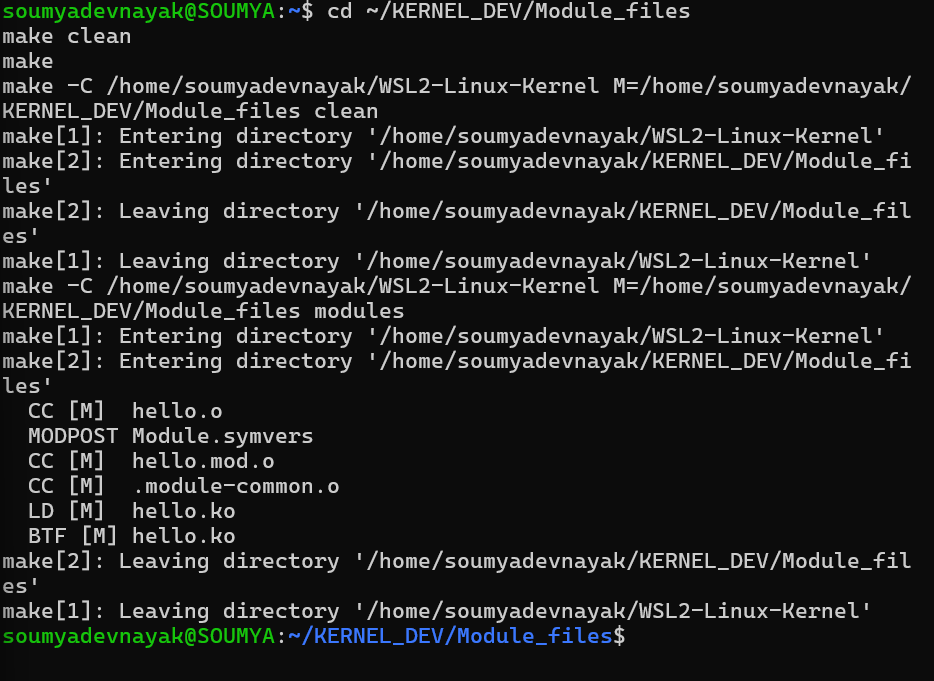
Figure 10: Building and Loading the Module
Expected clean output ends with:
LD [M]  hello.ko
BTF [M] hello.ko
Load it and test:
# 1. Load the module into the kernel
sudo insmod ./hello.ko

# 2. Confirm it is loaded
lsmod | grep hello

# 3. See the kernel message your module printed
dmesg | tail -5

# 4. Unload the module
sudo rmmod hello

# 5. See the exit message
dmesg | tail -5
Expected dmesg output:
hello: loading out-of-tree module taints kernel.
hello: module loaded - Hello from the kernel!
...
hello: module unloaded - Goodbye from the kernel!
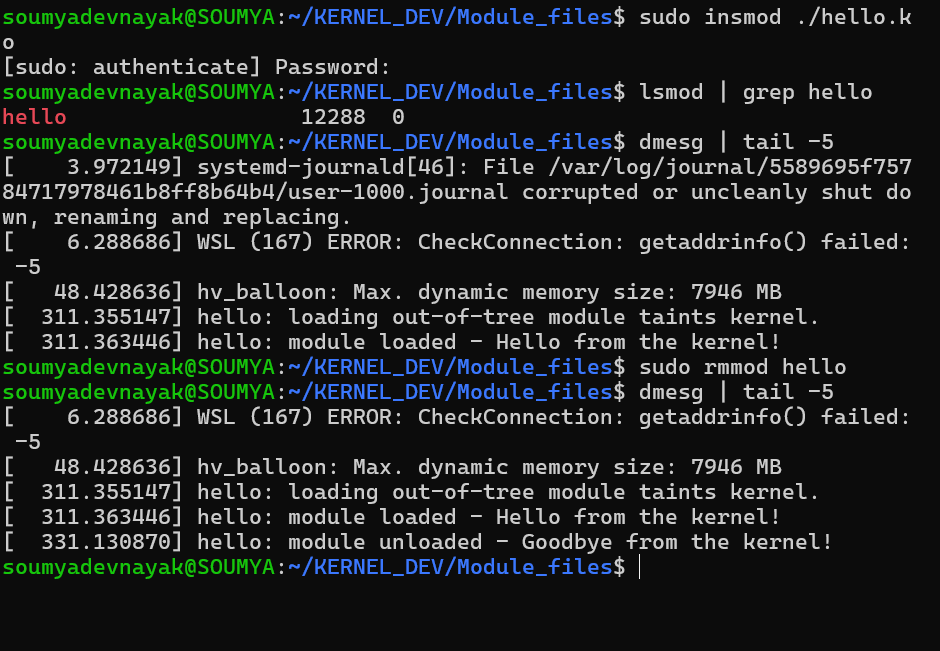
Figure 11: Load it and test
The "taints kernel" line is expected and harmless — it just flags that an out-of-tree module was loaded.| Error | Cause | Real fix |
|---|---|---|
make: *** /lib/modules/$(uname -r)/build: No such file or directory |
No kernel source/headers prepared for the running kernel | Complete Section 5 (clone + prepare the tree) before building any module |
insmod: ERROR: could not insert module ./hello.ko: Invalid module format |
Module was built against a prepared source tree, but WSL is still booting the stock Microsoft kernel binary — version/vermagic mismatch | Complete Sections 6–7: build bzImage from the same tree and boot WSL with it, then rebuild the module |
MODPOST ... Module.symvers is missing + ERROR: modpost: "_printk" [hello.ko] undefined! (also module_layout, __fentry__, __x86_return_thunk) |
Only make modules_prepare was run — it does not populate a full Module.symvers |
Run the complete make -j$(nproc) modules (Section 5.5) so the real symbol table is generated. Do not touch an empty Module.symvers — an empty file still causes the same undefined-symbol errors. |
insmod: ERROR: could not insert module ./hello.ko: File exists |
The module is already loaded | Check with lsmod | grep hello — if it's there, this isn't a real error. Run sudo rmmod hello first if you want to reload it. |
These shortcuts appear in troubleshooting threads and will get you a hello.ko file, but they skip the real kernel-development workflow and can bite you later (e.g. in driver/FPGA work where exact symbol resolution matters):
touch Module.symversto fake an empty symbol file — modpost still rejects the build with undefined-symbol errors, because the file has to actually contain the exported symbols, not just exist.make KBUILD_MODPOST_WARN=1— this silences undefined-symbol errors by downgrading them to warnings. The module looks like it builds, but it was never properly linked against the real symbol table. Avoid this for anything beyond a throwaway test.
The correct path is always: fully prepare the tree (Section 5.5) and boot your own matching kernel (Sections 6–7), so modules resolve symbols for real.
# --- Prerequisites ---
sudo apt update && sudo apt upgrade -y
sudo apt install -y build-essential flex bison libssl-dev libelf-dev bc dwarves git

# --- Get kernel source ---
cd ~
git clone --depth=1 -b linux-msft-wsl-6.18.y https://github.com/microsoft/WSL2-Linux-Kernel.git
cd WSL2-Linux-Kernel

# --- Prepare the tree (order matters) ---
make mrproper
cp Microsoft/config-wsl .config
make olddefconfig
make -j$(nproc) modules_prepare
make -j$(nproc) modules
ls -lh Module.symvers
wc -l Module.symvers

# --- Build the custom kernel image ---
make -j$(nproc)
ls -l arch/x86/boot/bzImage

# --- Deploy to Windows / WSL ---
ls /mnt/c/Users/
cp arch/x86/boot/bzImage /mnt/c/Users/YOUR_REAL_USERNAME/
# Create C:\Users\YOUR_REAL_USERNAME\.wslconfig with:
#   [wsl2]
#   kernel=C:\\Users\\YOUR_REAL_USERNAME\\bzImage
# Then, in PowerShell:
#   wsl --shutdown
uname -r
cat /proc/version

# --- Build and load the module ---
mkdir -p ~/KERNEL_DEV/Module_files
cd ~/KERNEL_DEV/Module_files
# (create hello.c and Makefile as shown in Section 8)
make clean
make
sudo insmod ./hello.ko
lsmod | grep hello
dmesg | tail -5
sudo rmmod hello
dmesg | tail -5- A real WSL2 kernel source tree, properly prepared with a complete
Module.symvers - A custom-built kernel image (
bzImage) that WSL boots instead of the stock Microsoft binary - An out-of-tree module built and linked against the exact running kernel — no symbol hacks, no warnings-as-errors
- A clean load/unload cycle confirmed via
dmesg
This is the same workflow used for real driver development on any Linux distribution — WSL2 just requires you to build the matching kernel and headers yourself first.