Welcome to my Arduino projects repository! 🎉 Here, I share my journey of learning Arduino, along with the projects I've built along the way. My goal is to document my progress and help others who are also starting their Arduino journey. Feel free to explore, learn, and star the project if you find it helpful a bit! 🤖✨
Arduino is an open-source electronics platform that serves as the brain behind a vast array of interactive projects. Whether you're building a simple light system, a robot, or a complex IoT device, Arduino makes it possible to bring your creations to life. By combining microcontroller boards and user-friendly software (the Arduino IDE), Arduino allows anyone—from beginners to experts—to write and upload code to control sensors, motors, LEDs, and other electronic components.
The journey of Arduino started in 2005, thanks to the brilliant minds of Massimo Banzi and David Cuartielles at the Interaction Design Institute Ivrea in Italy. The goal was simple: create a tool that was affordable, accessible, and easy to use, especially for those without a background in engineering. With that vision, the first Arduino board—Arduino Serial—was born. This humble creation was built around an Atmel AVR microcontroller and quickly set the stage for the future of physical computing.
In 2006, Arduino embraced its open-source nature, allowing creators from around the globe to dive into the world of electronics. This decision amplified the community's impact, turning Arduino from a classroom tool into a global movement. By 2007, the Arduino UNO emerged as the most popular board, beloved for its simplicity and flexibility. It became the gateway for many into the world of programming and hardware.
As time passed, Arduino evolved in tandem with technological advancements. The 2010s saw a significant surge in its applications, particularly with the rise of the Internet of Things (IoT). Arduino began powering connected devices, transforming everyday objects into smart gadgets. The introduction of boards like the Arduino Leonardo and Arduino Due pushed the boundaries of what Arduino could do, adding features such as built-in USB capabilities and enhanced processing power.
Today, Arduino remains a dominant force in the maker and tech communities. It serves as both a learning tool and a launchpad for innovation. From robot prototypes to advanced IoT systems, Arduino continues to empower creators to make their dreams a reality—one project at a time. Whether you’re a student, hobbyist, or professional, Arduino’s open-source ecosystem ensures that anyone can join the movement and shape the future of technology.
-
Microcontroller: ATmega328P
-
Clock Speed: 16 MHz
-
Flash Memory: 32 KB (0.5 KB used by bootloader)
-
SRAM: 2 KB
-
EEPROM: 1 KB
-
Digital I/O Pins: 14 (6 PWM)
-
Analog Input Pins: 6
-
Operating Voltage: 5V
-
Input Voltage (recommended): 7-12V
-
Current per I/O Pin: 40 mA
-
Communication: UART, SPI, I2C
-
USB Interface: Type-B
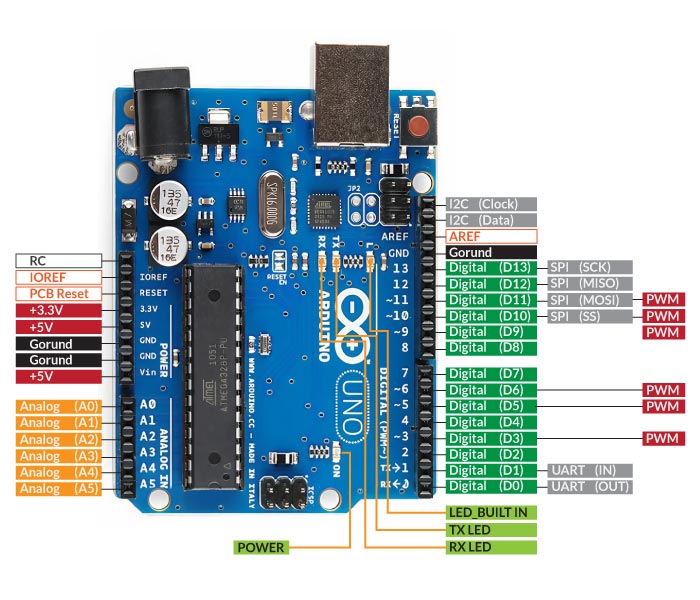
Arduino programming is done using Arduino C/C++ in the Arduino IDE or other compatible environments. Here’s a basic guide to getting started with Arduino programming.
Download and install the Arduino IDE from Arduino's official website.
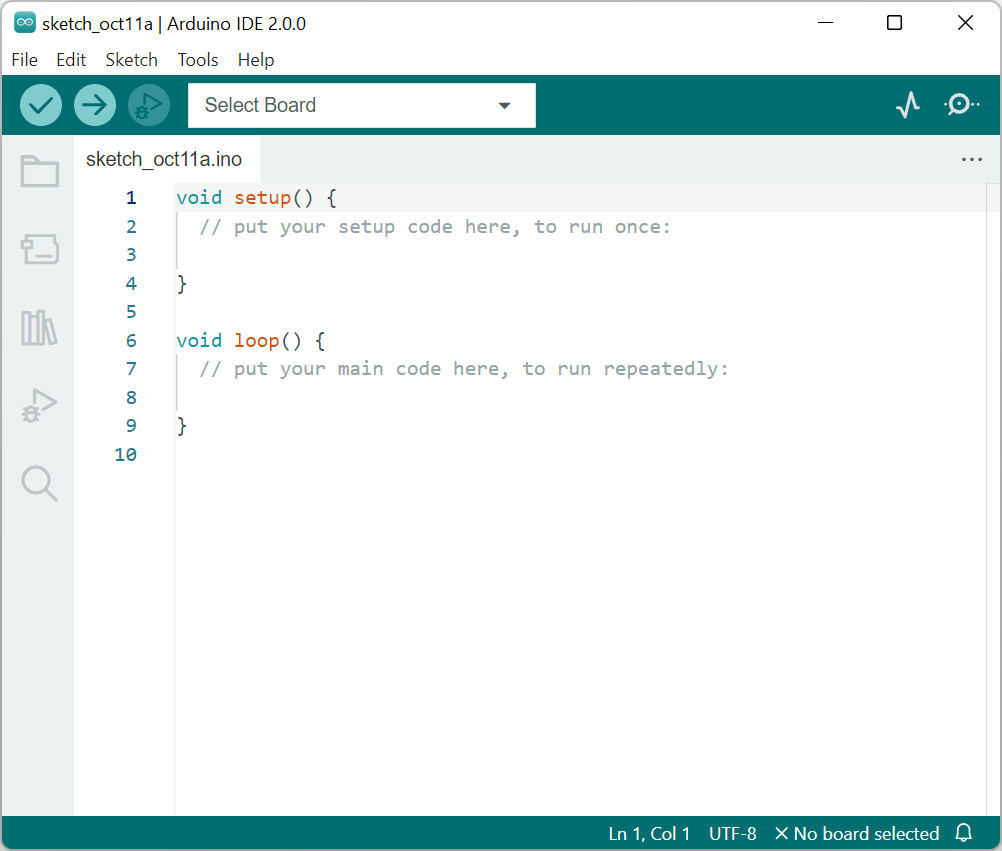
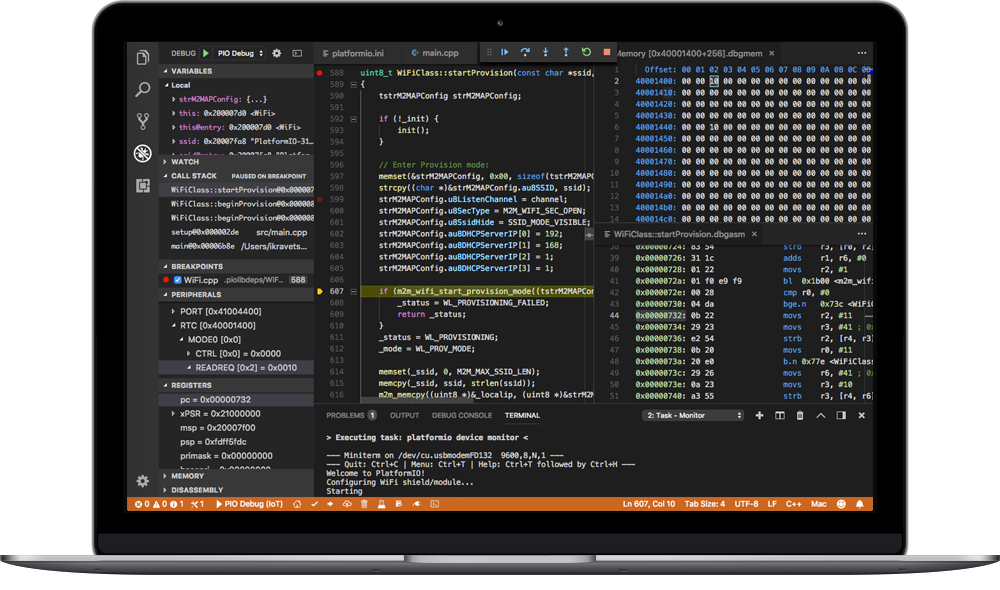
Or You can use PlatformIO (for VSCode)
Every Arduino program (which is called sketch in Arduino Program) consists of two main functions:
void setup() {
  // Runs once when the Arduino starts
}

void loop() {
  // Runs repeatedly after setup()
}
1. setup(): Initializes variables, pins, libraries, etc.
2. loop(): Runs continuously until power is turned off.
Here are some fundamental Arduino functions:
pinMode(LED_BUILTIN, OUTPUT); // Set a pin as input or output● INPUT – Read external signals.
● OUTPUT – Send signals to components.
● INPUT_PULLUP – Internal pull-up resistor enabled.
digitalWrite(13, HIGH);  // Turn pin 13 ON
digitalWrite(13, LOW);   // Turn pin 13 OFF

int buttonState = digitalRead(2); // Read pin 2 (HIGH or LOW)int sensorValue = analogRead(A0); // Read analog pin A0 (0-1023)
analogWrite(9, 128); // Write PWM signal (0-255) to pin 9Serial.begin(9600); // Start Serial Monitor at 9600 baud
Serial.println("Hello, Arduino!"); // Print message to Serial Monitor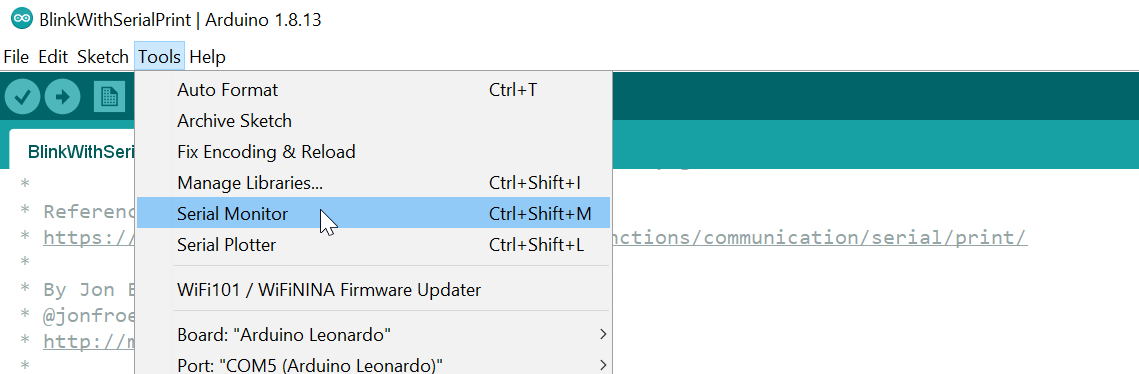
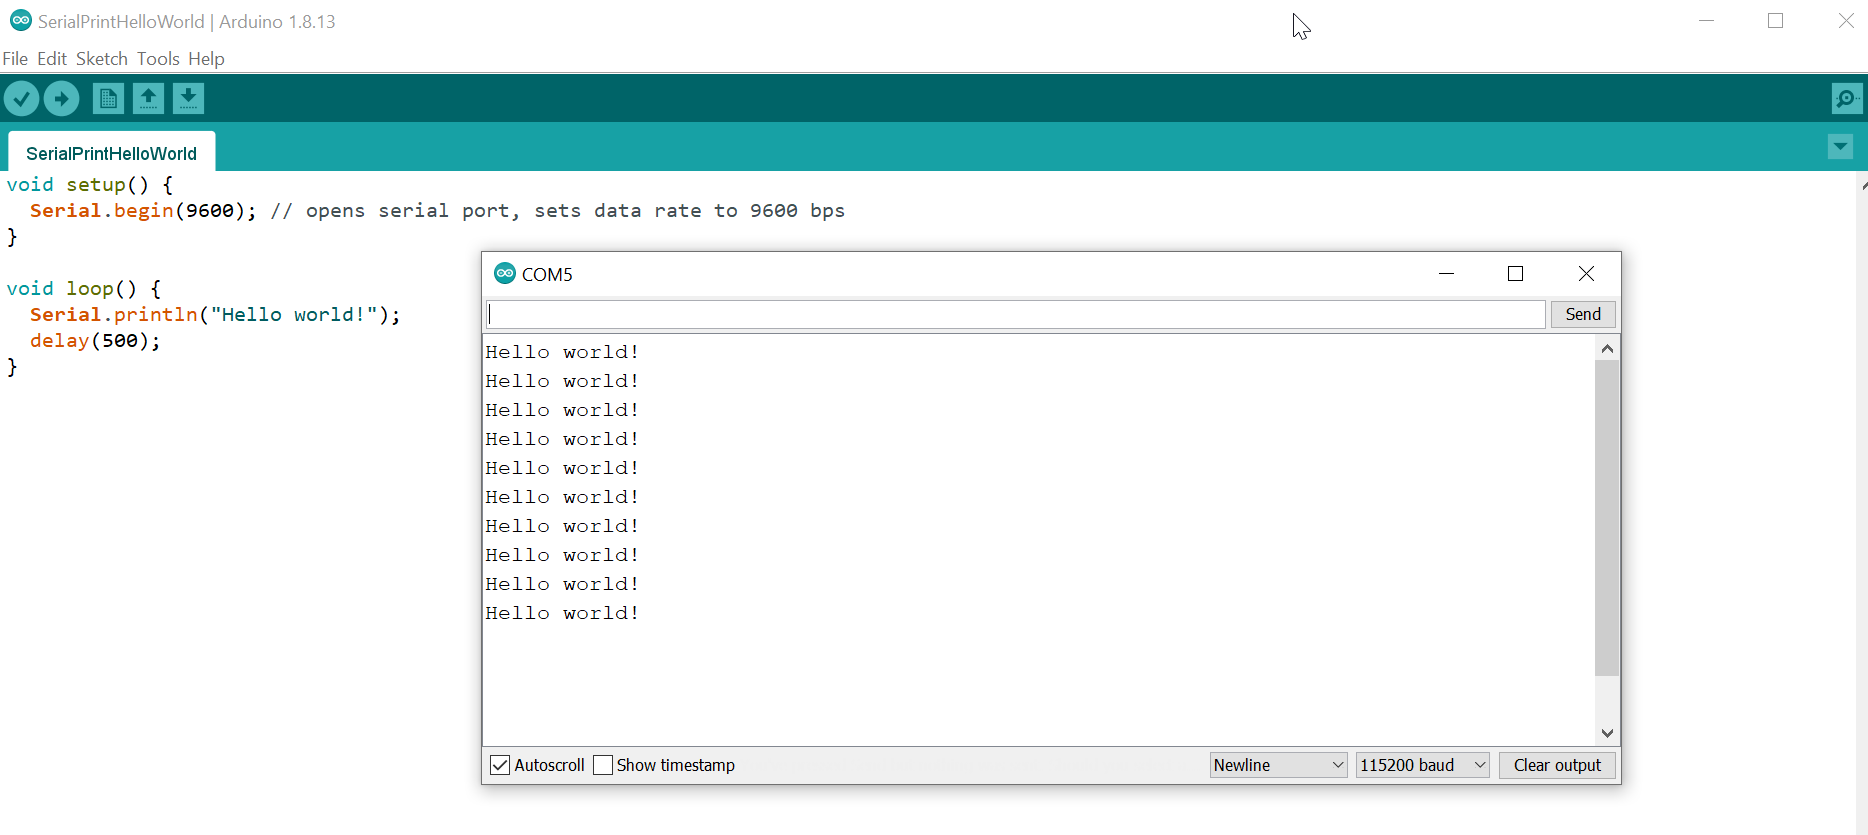
void setup() {
  pinMode(LED_BUILTIN, OUTPUT);  // Set LED pin (Pin 13) as output
}

void loop() {
  digitalWrite(LED_BUILTIN, HIGH); // Turn LED ON
  delay(1000);  // Wait 1 second
  digitalWrite(LED_BUILTIN, LOW);  // Turn LED OFF
  delay(1000);  // Wait 1 second
}-
Connect the Arduino board via USB.
-
Select the correct board (Tools > Board > Arduino Uno or the board you have).
-
Select the correct port (Tools > Port).
-
Click the Upload button.
These are the resources that I have used to learn the Arduino:
Youtube: Paul McWhorter's Arduino Tutorial
Books: Beginnig Arduino Programming by Brian Evans
Simulation: TinkerCad

